Wisdom for smarter businesses
Featured
Member Masterclass: Talks and articles from the world's leading experts
Members of the Sage community get automatic access to exclusive benefits, including talks, articles and expert advice in Member Masterclass. In this season, our speakers will explore how you can use innovation to propel your business forwards, unlock new opportunities, and create lasting impact.

See advice specific to your business
Latest articles


More topics
Sage Presents
 01:26
01:26
Recommended
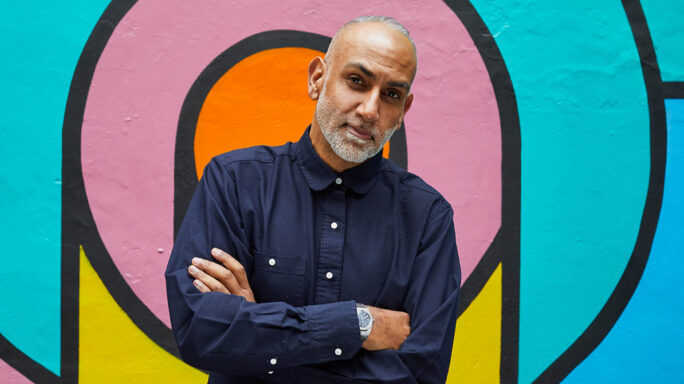
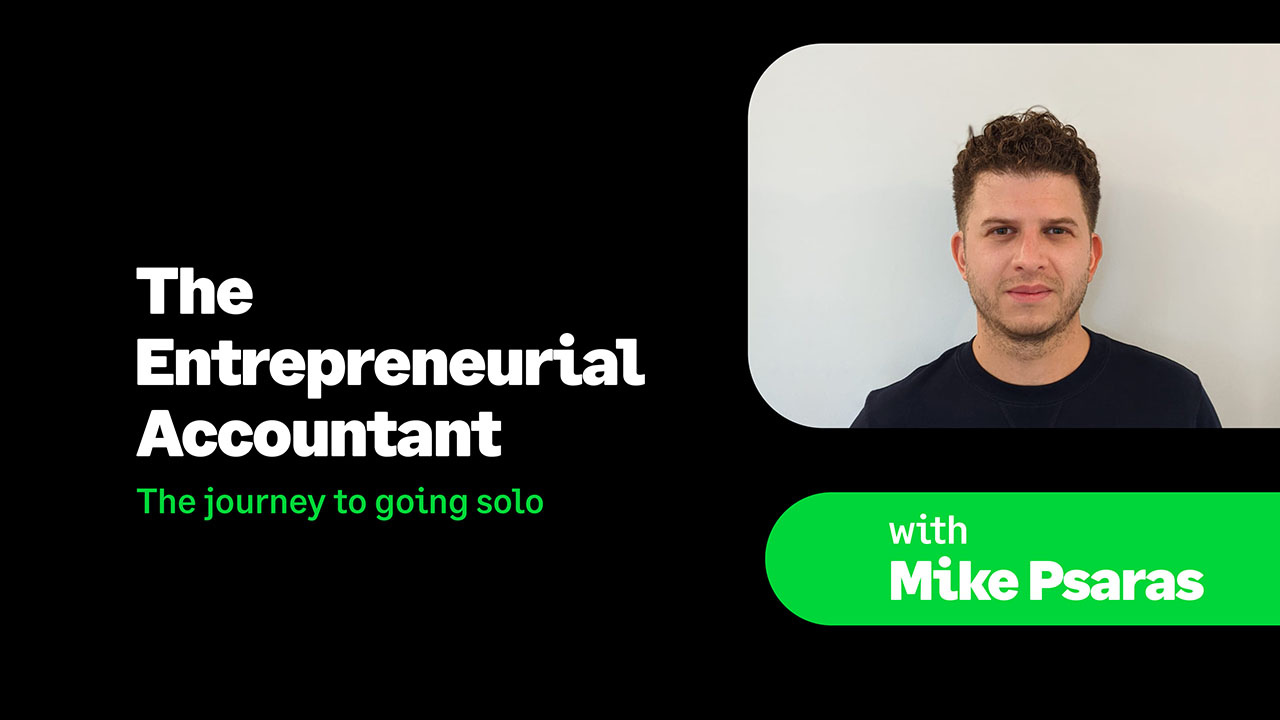
Introducing The Entrepreneurial Accountant & our host, Mike Psaras
Welcome to our new series, The Entrepreneurial Accountant. Our host, Mike Psaras, reveals what we've got in store for you.